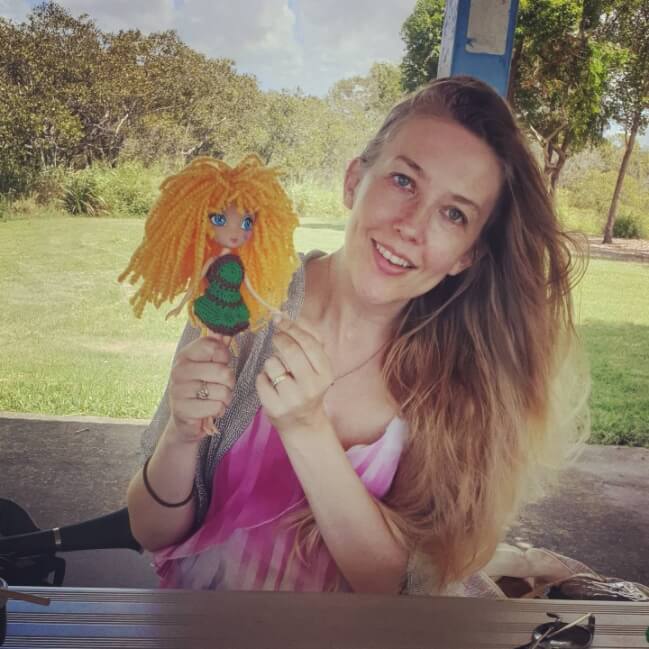
How to make doll hair ~ the easiest way
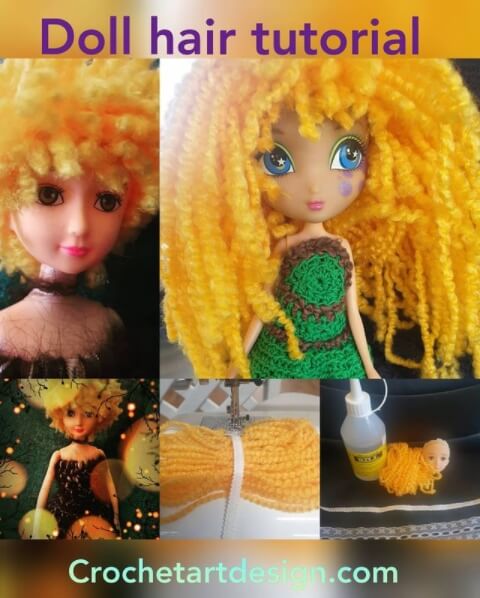
The first thing you need is suitable yarn. In this tutorial, I am using 100% Acrylic, curly, yellow 4 ply yarn. For the video tutorial on my Youtube, Click Here.
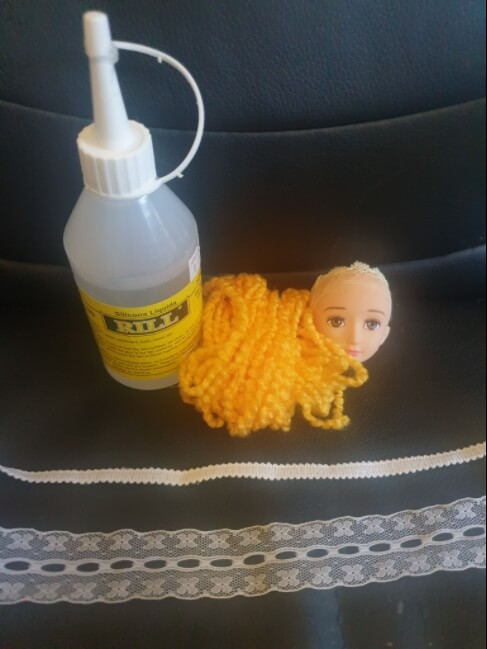
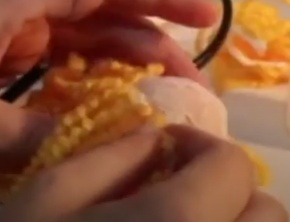
Decide the length of the hair and begin rolling up the hair in the desired length. You will also need glue, a sewing machine, and two types of ribbon: wide width and narrow width (see pic above). In this tutorial, I had to glue the wider ribbon to the doll head.
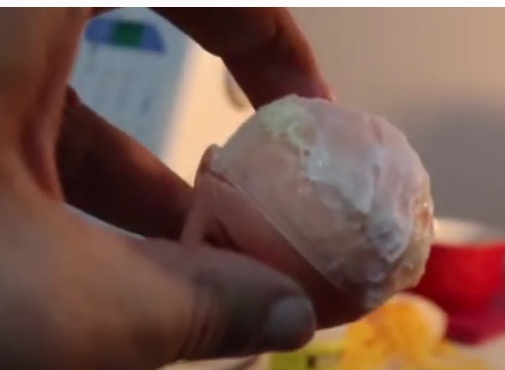
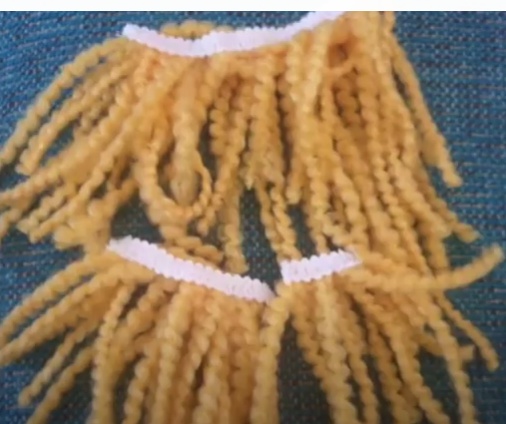
This was to give it a surface that is easier to glue the hair onto. You might not need to do this. You will need the narrow width ribbon to stitch the hair onto. This is to create the hairpieces that you will glue to the doll hair in a circular fashion.
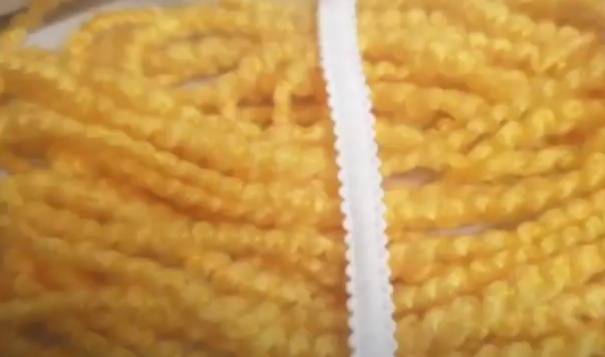
Lay the ribbon across the middle of the yarn as pic above shows. Stitch with long stitches across the ribbon on the sewing machine. Lay all the hair across to face one side. Stitch across the ribbon with cross stitches on the sewing machine. The result will look like the picture below.
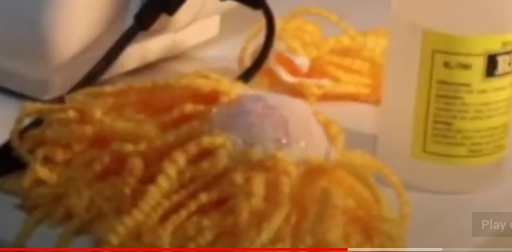
Glue the hair in a circular motion around the head (see pics below).
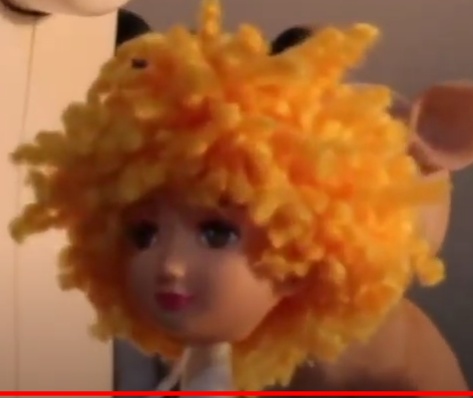
Once all the hair is glued on, you can give her a haircut. The haircut part is the best part. Now you can be creative and pretend you are Frédéric Fekkai. :)
Doll Upcycle begins with Great Hair
Doll upcyle is one of my favourite hobbies. The doll hair is my favourite part.


Leave a Comment