Step-by-Step Guide to Making Stamp Brushes in Procreate
Step 1: Set Up Your Canvas
- Open Procreate and create a new canvas.
- Make sure you are working on a transparent background for a cleaner result.
Step 2: Create Your Design
- Draw your stamp designs : Using the brush tool, create the design you want to turn into a stamp. This could be anything from a simple shape (like a star or heart) to a more complex design (such as a flower, icon, or texture).
- Keep the design black and white, as this will determine the opacity of your stamp. Black areas will be fully opaque, while white areas will be transparent.
- If you prefer, you can also import an image to use as a stamp (e.g., hand-drawn on paper and then scanned or imported into Procreate).
Step 3: Remove the Background
- If you drew on a white background, make sure to remove it by:
- Tapping the Background color layer in the Layers panel.
- If uploading an image, make sure they have transparent background
Step 4: Resize and Center Your Design
- Use the Transform Tool (the arrow icon) to adjust the size of your design if necessary. A smaller stamp should fit comfortably within the center of your canvas for consistent stamping.
- Tip: Tap the Snapping option to ensure your design is perfectly centered.
Step 5: Copy the Design
- With your stamp design layer selected, tap on the Actions menu (wrench icon).
- Choose Copy Canvas from the Add tab. This copies your stamp design.
Step 6: Create a New Brush
- Open the Brush Library by tapping the brush icon.
- Tap the + in the top-right corner to create a new brush.
- In the Brush Studio, tap Shape (on the left panel) to customize the shape of your brush.
Step 7: Import the Stamp Design
- In the Shape Source window, then select Import.
- Tap Paste to paste the design you copied earlier.
- Tip: You can invert the design by tapping with two fingers in the Shape Editor. This makes the black areas where the ink will appear, and white areas will remain transparent.
- Tap Done to save your shape.
Step 8: Adjust Brush Settings
- In the Brush Studio, customize the stamp’s behavior:
- Stroke Path: Set Spacing to max (100%) so that it works like a stamp and not a continuous line.
- Shape: Ensure Rotation is set to “None” to keep the stamp from rotating.
- Rendering: You can experiment with the settings here, but usually, “Light Glaze” or “Normal” works well for stamps.
- Size: Adjust the size settings to control how large or small the stamp can be when you use it.
- Tap Done in the top-right corner when you’re happy with your settings.
Step 9: Test Your Stamp
- Select your new stamp brush from the Brush Library.
- Tap your canvas to stamp your design. You can adjust the size and opacity using the sliders on the left panel.
Step 10: Name and Organize Your Stamp
- Go back to the Brush Library, tap and hold your custom stamp, and drag it to any folder you like.
- Rename your brush by tapping on the Brush Settings menu (tap the brush name), then tapping on the About This Brush tab. Tap the title to edit the name.
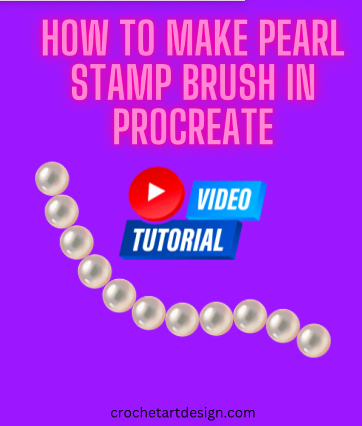
How to make your own Pearl Stamp Brush in Procreate
Video below shows how I used tutorial described in this post to make pearl stamp brush in Procreate.
Extra Tips for Creating Stamps:
- Multiple Stamps in One Brush Set: Create a brush set specifically for your stamps to keep them organized.
- Color Variations: Once you’ve made your stamp, experiment with different colors by selecting new colors before stamping.
- Texture Stamps: You can also create texture stamps to quickly add backgrounds or textural elements to your designs.
- Opacity Control: You can control the stamp’s opacity by adjusting the opacity slider on the left sidebar before applying the stamp.
Now you’re ready to create and use your own custom stamps in Procreate! This process is perfect for adding quick details or repetitive elements to your artwork without having to draw them each time. Enjoy stamping!


Leave a Comment